How I Created My Blog’s Banner
Going into the creative process, I had no ideas as to how I wanted my banner to look. To draw some inspiration, I headed to Canva to browse through the platform’s header templates. Right away I found one that I liked. It was a simple template with very few elements, which would facilitate the changes that I was about to make. First, the color. I had forgotten that the theme I chose for my blog is primarily blue, so I immediately changed the color of the banner’s decorative shapes to match it. Then, I changed the title to “Thinking Out Loud”, the name of this blog, and added my name at the top for a personal touch. Then, at the bottom, I added the blog’s URL. Initially, I had planned to leave the title in black, but then decided to put the bottom line in blue for more contrast.
I added a picture of me to the side opposite to the title, but then realized that it wasn’t a good picture for the intended purpose. In fact, I couldn’t find any picture of me that was. I needed a picture of something that would represent the essence of this blog, which is seeking for answers through critical thinking and learning. I thought of uploading a picture of me with a thinking expression, but I decided to look at the stock images first. I found a cartoon man, that kind of looks like me, with the expression I was looking for and felt that it represented me the best, so I went with it. Then, I added a stock image of a thought bubble next to the man’s head, and then a stock image of lightbulb inside it.
At this point, I thought to leave it as it was, but the more I looked at it, the more I felt that something was missing. It was the background. It was entirely white, and therefore wasn’t contributing to the banner’s attractiveness, which according to the blog How To Make Your Blog Posts Stand Out With a Stunning Header Image, is essential since the readers first focus on the visual elements before reading the text. I began searching for a blog-related stock image to use as my banner’s background, to my surprise, I found out that Canva retrieves some of its stock images from external libraries. I stumbled upon an image of a computer, which I liked very much, and when I selected it, the image’s credits showed up. It was originally uploaded to Pexels, an online library with more than 3.2 million free stock photos and videos, by the user bongkarn thanyakij. After this change, my blog banner was finally complete!

The Tools That Made This Possible
Canva
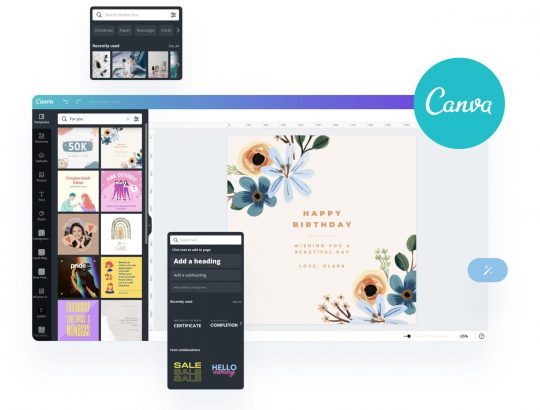
Canva is a free to use graphic design platform. This online tool allows its users to create social media posts, presentations, posters, videos, logos and more. I used Canva throughout the entire process of creating this blog’s banner. The platform is very intuitive and easy to use. As I mentioned in the previous section, I created my banner parting from a header template. Depending on the project you wish to work on, Canva has a vast selection of templates for every format and theme. Once a template is selected, the customization is pretty straight forward. It is worth mentioning that designs can also be created from scratch. All of the stock images that I used for the my banner were provided by Canva, although as mentioned earlier, it seems that Canva is connected to various stock image libraries from which it retrieves much of its content. In regards to the images, I made sure that they were free to use under Creative Commons Licensing, however, for elements such as shapes and text, this wasn’t necessary. Overall, I really enjoyed using Canva and found it to be a very complete platform to be based solely online. I will definitely use it in my upcoming projects.